When you look at a piece of property, it’s easy to focus on what you see above ground, a clean-looking lot, a vacant building, or maybe just an open field. But what’s happening beneath the surface often tells a very different story. Soil and groundwater contamination can be hiding quietly, only showing up when an environmental assessment is completed. This is where understanding environmental remediation techniques becomes crucial.
That’s when the big question comes up: How do we clean this up with the right environmental remediation techniques?
As an environmental consulting company with decades of remediation experience, we’ve seen projects of all shapes and sizes, from small petroleum leaks at gas stations to large-scale industrial sites impacted by solvents and heavy metals. The truth is, there’s no one-size-fits-all answer. The best approach depends on the type of contaminant, the site conditions, and your project goals.
In this article, we’ll walk you through the top environmental remediation techniques for contaminated soil and groundwater cleanup, explaining how each works, when it’s used, and what you should know if you’re evaluating your options.
What Are Environmental Remediation Techniques?
At its core, environmental remediation techniques are methods used to clean up contamination and protect human health, the environment, and property value. Contamination might come from leaking underground storage tanks, old dry-cleaning operations, industrial spills, or even historical uses of land that were once considered “normal” but would raise red flags today.
For property owners, developers, and investors, remediation is often a key step in due diligence. Without it, a deal can stall or worse, fall apart entirely. We’ve seen cases where an investor almost walked away from a property because of concerns over an old tank leak, only to feel confident again once we outlined a remediation plan that made sense for their budget and timeline.
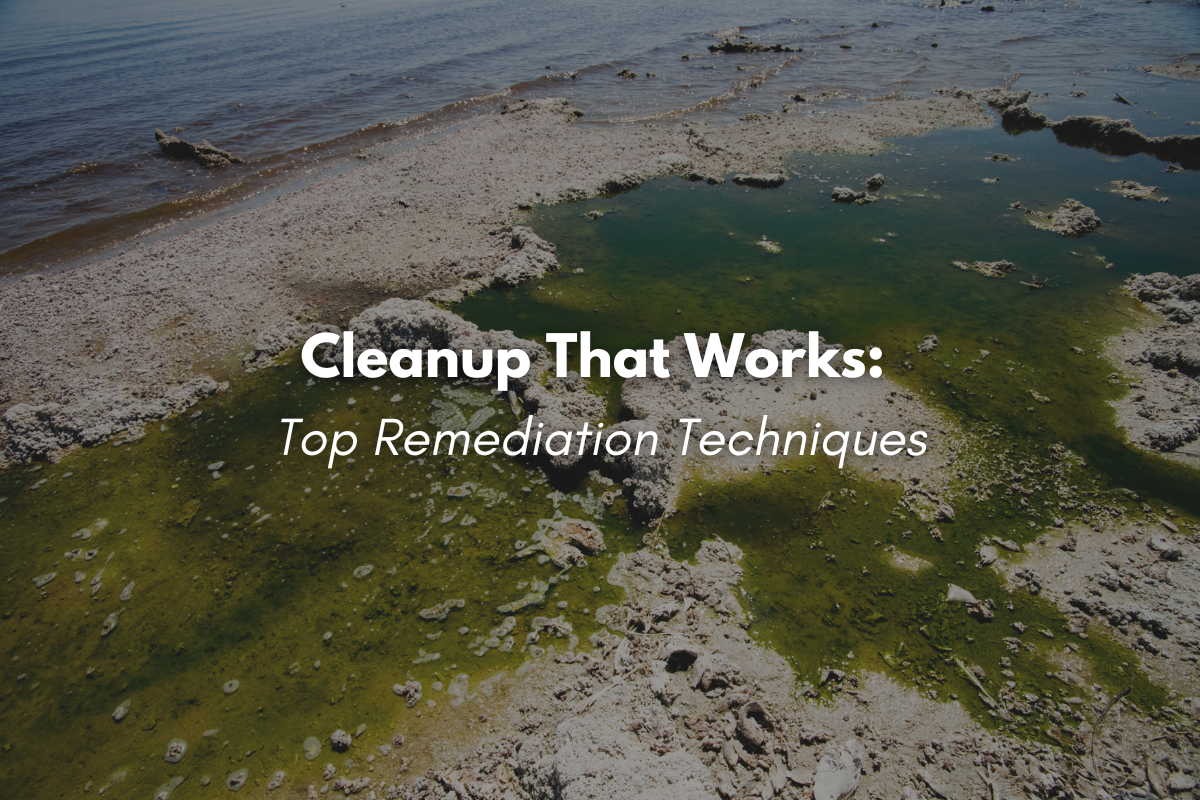
Top Environmental Remediation Techniques
Below are some of the most widely used environmental remediation techniques we recommend and design for clients.
1. Excavation and Off-Site Disposal
This is one of the most straightforward environmental remediation techniques. Literally digging up contaminated soil and hauling it off to an approved disposal facility.
- Best for: Localized contamination in shallow soils.
- Pros: It’s quick and provides immediate results.
- Cons: Can be costly due to trucking and disposal fees, and it can disrupt the property during excavation.
Example: On a recent project, we were able to remove petroleum-contaminated soil in less than a week, allowing the property owner to move forward with construction without long delays. Sometimes fast and simple is the best approach.
2. Soil Vapor Extraction (SVE)
SVE works by pulling air through the soil to remove volatile contaminants (like gasoline vapors) from the unsaturated zone above groundwater.
- Best for: Volatile organic compounds (VOCs) in sandy soils.
- Pros: Cost-effective for hydrocarbon and solvent cleanups.
- Cons: Doesn’t work well in clay soils or where contamination is deep.
Think of it like placing a giant vacuum under the ground, it pulls out vapors that would otherwise stay trapped in the soil. We’ve seen SVE systems run quietly in the background while a site continues normal operations, making it a less disruptive option compared to excavation.
3. In-Situ Chemical Oxidation (ISCO)
This method involves injecting oxidizing chemicals directly into contaminated soil or groundwater to break down harmful compounds.
- Best for: Petroleum hydrocarbons, chlorinated solvents, and stubborn contaminants.
- Pros: Treats contamination underground without excavation.
- Cons: Requires careful design and can be more expensive upfront.
One client came to us worried about an old industrial site where solvents had impacted groundwater. By applying ISCO in carefully mapped injection points, we reduced contaminant concentrations by over 90%, making the site viable for redevelopment.
4. Bioremediation and Enhanced Natural Attenuation
Bioremediation uses naturally occurring microbes to “eat” contaminants. Sometimes we enhance the process by adding oxygen, nutrients, or other amendments to speed things up.
- Best for: Petroleum-impacted soils and groundwater.
- Pros: Sustainable, cost-effective, and environmentally friendly.
- Cons: Slower than mechanical or chemical options.
It’s a little like composting, you create the right conditions, and nature does the heavy lifting. On a former gas station property, we saw bioremediation steadily reduce contamination levels over 12 months, ultimately saving the client money compared to more aggressive approaches.
5. Pump-and-Treat Systems
This long-standing environmental remediation technique involves pumping contaminated groundwater to the surface, treating it to remove pollutants, and then discharging the clean water back into the environment.
- Best for: Dissolved groundwater plumes.
- Pros: Effective at containing and treating large impacts.
- Cons: Long-term operation can become costly, and cleanup may take years.
While pump-and-treat has been around for decades, it’s still valuable in situations where containment is the priority. In many cases, we combine it with other in-situ methods to accelerate the cleanup process.
6. Solidification/Stabilization
This method involves mixing binding agents (like cement or lime) with contaminated soil to lock contaminants in place, reducing their ability to leach into groundwater.
- Best for: Heavy metals and inorganic contaminants.
- Pros: Prevents contaminant migration and reassures regulators.
- Cons: Doesn’t destroy contaminants, just stabilizes them.
For industrial sites where digging everything up isn’t feasible, this technique provides a practical, cost-effective solution that keeps lenders and property owners confident the site is safe for future use.
How to Choose the Right Environmental Remediation Techniques
With so many options, how do you know which environmental remediation techniques are right for your site? It comes down to:
- Type of contaminant (petroleum vs. solvents vs. metals).
- Site conditions (soil type, groundwater depth, plume size).
- Regulatory requirements (TCEQ, EPA, or local standards).
- Budget and timeline (fast-track cleanup vs. long-term solutions).
This is where a Phase II Environmental Site Assessment (ESA) becomes crucial. A Phase II identifies what contaminants are present and at what levels, giving consultants the data they need to design the right plan.
Why Professional Guidance Matters
We’ve met plenty of clients who tried to manage contamination themselves, only to discover later that regulators weren’t satisfied or the contamination had spread further. Choosing the wrong technique can mean spending more money in the long run.
By working with an experienced environmental consulting company, you gain:
- Accurate site investigations.
- Expert selection of environmental remediation techniques.
- Regulatory compliance that keeps your project on track.
- Peace of mind that your investment is protected.
Conclusion
Contamination doesn’t have to mean the end of your project. With the right environmental remediation you can protect your investment, meet regulatory requirements, and move forward with confidence.
At CRG Texas Environmental Services Inc., we’ve spent over 30 years helping property owners, developers, and investors across Texas solve contamination challenges. From excavation to bioremediation, we know which tools to use and when.
If you’re evaluating environmental remediation techniques for your project, contact our team today. We’ll help you find the best path forward.